
I have always been self conscious of my callus, but I don't do pedicures to get rid of them because my feet are so ticklish! I have gotten a pedicure done once and I felt sooo bad because it was so hard for the manicurist to prep my feet for the pedicure since I kept squirming around whenever she touched my sole.
Then there's buffing with a file, but because of the amount of callus I have this usually take a really long time with minial results - totally not worth the effort. Even my boyfriend (who has been through the army) has nicer feet/soles than mine... WHY!! His feet is so smooth and free from callus despite the fact that he runs quite often too #lifesnotfair :(
So I literally jumped at the chance when Clarisonic offered to send their Pedi Kit for me to try out. I was sooooo happy when I got it and felt like a little girl on Christmas Day opening her presents, and kept showing my feet to B after I was done using it for the first time like "see see omg so smooth now omg" and kept shoving my foot to him LOL. Later that day he came up to me and told me "I'm glad you got to try this out.. because if not when you see it at Sephora you'd surely buy it" :x
Okay, backstory aside.. let me share with you about the actual Clarisonic Pedi kit.

Aside from the device itself, there are 5 other accompanying products to the Pedi Kit.

1. Smoothing Disc

2. Wet/Dry Buffing Brush Head

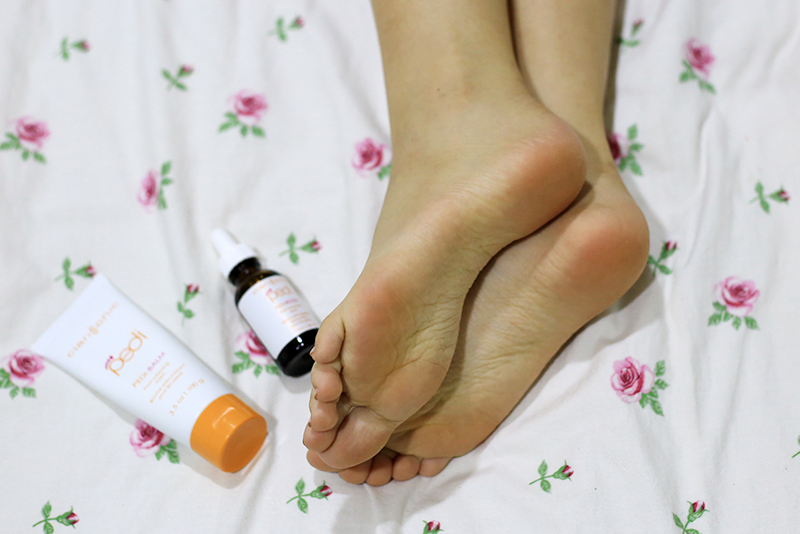
3. a)Pedi Balm (left), b) Pedi Buff (right)

b) Used in conjunction with the buffing brush head, this powerfulcleansing scrub contains a triple-kick exfoliating blend of lactic acid, apricot seed and a tri-fruit complex to dissolve away rough, dead skin and refine texture.
4. Pedi Boost

How to UseDaily: Begin foot transformation by scrubbing away set-in debris and smoothing dry, rough skin with the Wet/Dry Buffing Brush Head and Pedi-Buff. Follow with the Pedi-Balm to hydrate and protect feet with a slip-resistant finish.
Twice Weekly: Use the Pedi Smoothing Disc on thoroughly dry feet before the Pedi-Buff and Wet/Dry Buffing Brush Head. Treat with Pedi-Boost for total foot renewal and additional skin softening. Finish with Pedi-Balm to hydrate and protect.
I think this is the first time ever that I've shown a photo of my feet, but here you go. As you can see, the callus on my (also dry) heel is thick and unsightly :(. This was before I've began to use the Pedi Kit.


Before I get started on how I use the Pedi Kit, let me talk a little about the device. As many of you might know, I am currently using the Clarisonic Aria and I love it because the shape of the product makes it very comfortable to grip. The Clarisonic Pedi is exactly like the Aria in terms of the size (as well as charger) but the only difference is that the Clarisonic Pedi is able to deliver a much stronger vibration than the Aria - which is why you can't use your regular facial Clarisonic devices (unless they have the speeds for body like the Pro or Plus models) for this, as they won't be able to deliver enough power. Also, just like all other Clarisonic devices, the brush heads do not spin, but instead, they oscillate back and forth so that it will be effective yet gentle on your skin.
One of the down sides I found about the Clarisonic Pedi was that the battery doesn't hold it's charge for as long as the other devices. It might be that I use it on the highest speed when buffing, or that it has a strong output, but the battery seems to last for a shorter amount of time before it needs charging. Although, this is not really a huge problem for me as I just put it to charge every 2~3 days after using it.
Also, with the smoothing disc, there isn't an option for how long to buff it for, but with the wet/dry buffing brush head, you can choose between 2 or 3 minutes options by simply pressing the up/down arrow while the device is turned off.
Using the Clarisonic Pedi is really quite easy, just twist on/off the specific heads, and buff your feet in circular motions.


No comments:
Post a Comment
Thanks for dropping by my blog, feel free to leave a comment or leave a question about anything in my post. :). xoxo, Jamie
Note: Only a member of this blog may post a comment.